To start using the Dashboard the first recommended action is to create your own user account. Login with the installation default account, then open the sidebar by hovering over it and click "User Management". On this page click the "Add" button and fill in the details of the new account. Next, click the logout button and log back in using the account you just created.
In Summary:
Login using the installation default account
Navigate to "User Management"
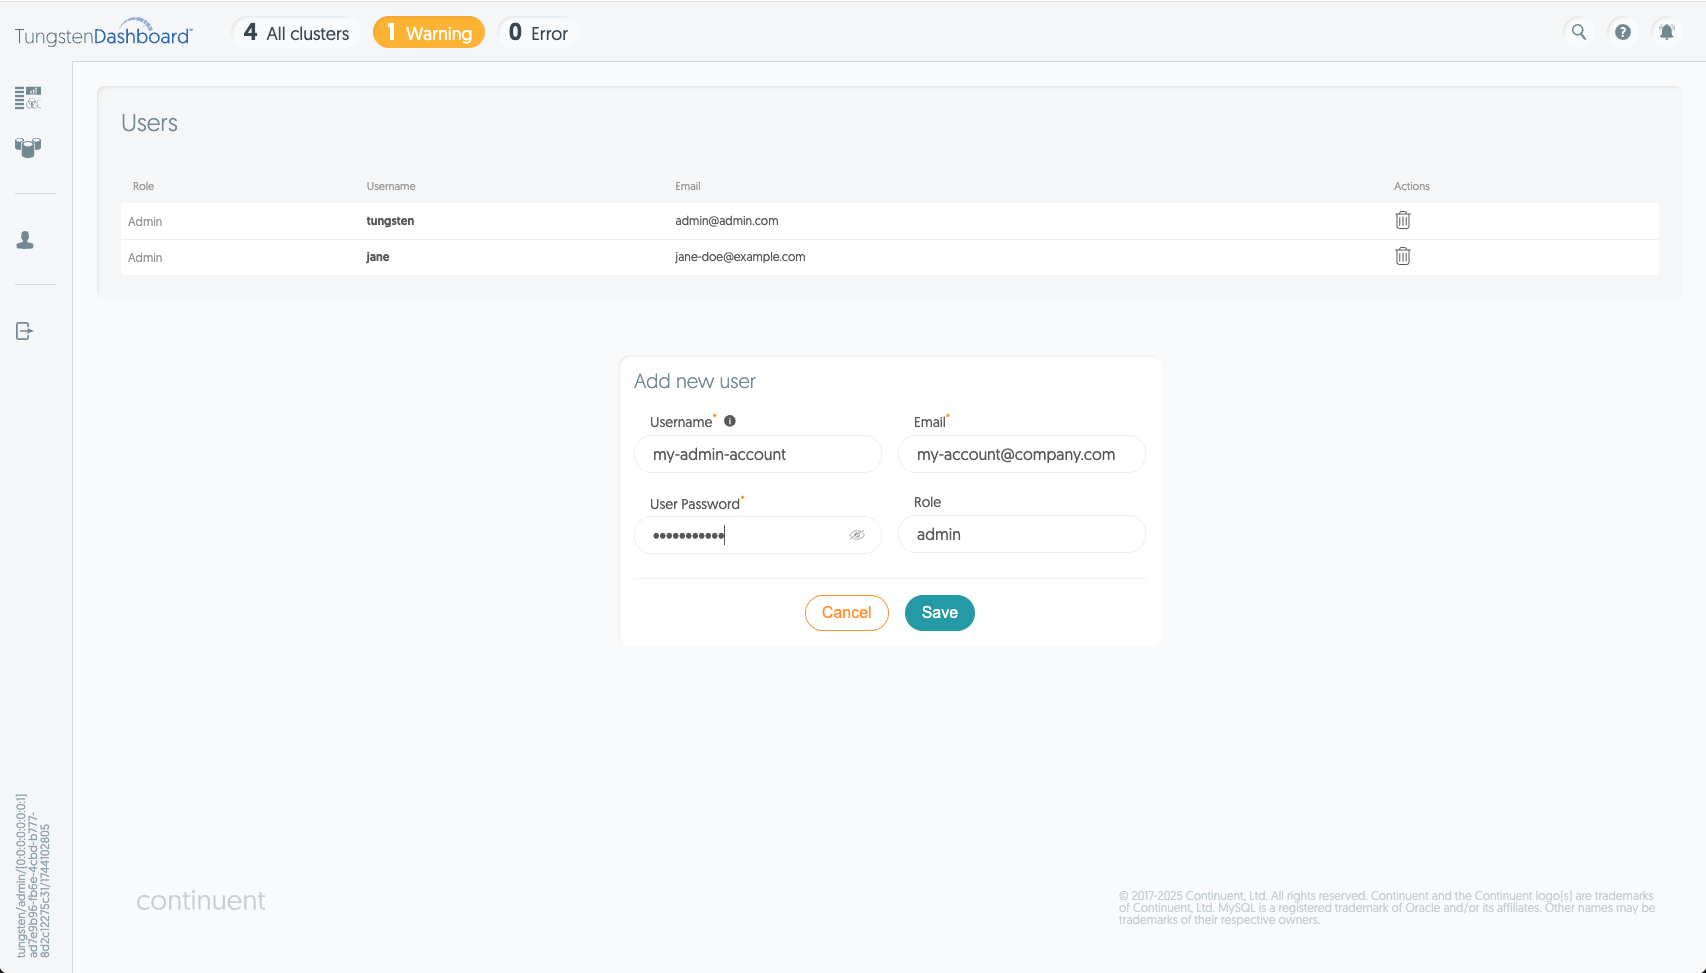
Click add
Fill in details
Click save
Logout, and Login again using your new account
Note
Roles cannot be changed in v8.0.0 - this feature will be implemented in a future update.
User accounts are stored in a file on the Dashboard server. This file is intended to be stored in the persistent volume of the Dashboard. In that file you'll find the email, username and hash of the password. Future logins work by matching the incoming hash against the stored one.
Each login returns a JWT token that the browser uses to communicate with the backend. This signed token contains basic JWT details and the username. While the content of the token can be decoded with base64, altering the token in any way will cause the backend to reject it. When a token is rejected, the backend closes the websocket session from the browser.
Note
Every token also has a UUID value. This UUID changes every time a user logs out. Forcing a logout deletes all tokens for that user. This means that the logout effectively signs the user out of all devices.